How to Create a Storyboard: A Step-by-Step Guide (Part 2 of 3)
Series note: This is Part 2 of our three-article series on storyboarding. If you’re new to the topic, start with Part 1—What is a Storyboard?—then return here to put the process into practice. Part 3 will cover advanced techniques and AI-powered workflows.
Introduction: The Storyboarding Process, Simplified
Creating a storyboard turns abstract ideas into a clear, visual plan you can align on, test, and execute. In this step-by-step guide, you’ll learn how to create a storyboard from start to finish—defining objectives, mapping narrative beats, building a shot list, sketching panels, adding production notes, timing your sequence, iterating with feedback, and handing off to production. Use these steps for films, ads, explainers, product demos, UX flows, or educational content.
- Who it’s for: marketers, producers, designers, educators, and product teams
- What you’ll get: a practical workflow, checklists, and pro tips
- Resources: templates and inspiration at PixelPlot.ai
Step 1: Define the Objective and Audience
Start by clarifying the mission. Is the storyboard meant to inform, persuade, or convert? Write a one-sentence goal and identify the primary audience persona (job title, pain points, motivation, desired outcome). The objective and audience inform tone, pacing, visuals, and your call-to-action.
Checklist for Step 1
- Goal statement (inform/persuade/convert) is documented.
- Primary persona defined: context, needs, constraints, success metric.
- Key message and single CTA agreed upon.
- Success criteria (watch time, clicks, sign-ups, comprehension) captured.
Step 2: Outline the Narrative Beats
Draft a simple beginning–middle–end. For marketing and ads, try hook → value → proof → CTA. For product and UX, frame it as problem → solution → outcome. Your beats become the backbone of the storyboard and keep the flow focused on audience outcomes.
Tips for Structuring Beats
- Keep beats minimal—3 to 6 major beats is plenty for short formats.
- State the audience benefit in each beat: what should the viewer feel or learn?
- Map beats to channels: short-form social vs. a 90-second explainer vs. onboarding.
Step 3: Create a Shot List or Screen List
List every discrete moment you must show. Each item becomes a panel in your storyboard. Include a short description, the purpose of the shot/screen, and any must-have elements (UI state, prop, actor action, or key text).
Shot/Screen List Template
- ID/Scene: e.g., S01, S02 …
- Purpose: what this moment communicates
- Action/Visual: what we see
- Audio/Text: dialogue, VO, on-screen copy
- Notes: camera angle, transition, interaction
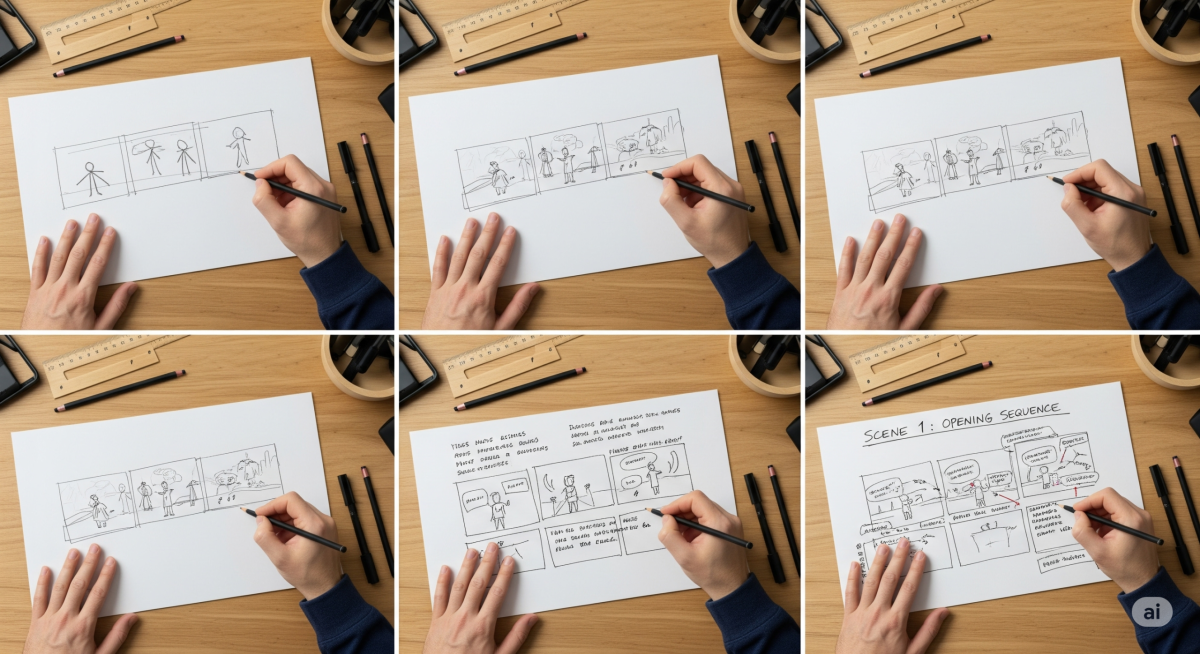
Step 4: Sketch Panels Using a Storyboard Template
Translate your shot list into panels. Use rough thumbnails, wireframes, or reference images. Aim for clarity, not art. Maintain consistent framing indicators (wide, medium, close) and label every panel with scene and frame numbers for easy review.
Clarity Over Fidelity
- Use arrows for motion and basic stick figures for blocking.
- Include UI states for product flows: hover, click, error, empty.
- Flag unknowns with a visible marker so reviewers can weigh in.
Step 5: Add Notes (Dialogue, Text, Camera/UX)
Enrich each panel with production notes. Capture spoken lines, voiceover, sound design cues, on-screen text, transitions, and interaction states. These notes prevent rework later and align creative, technical, and marketing stakeholders.
What to Note
- Dialogue/VO and exact on-screen copy
- Camera or UI transitions (cut, dissolve, scroll, swipe)
- Interaction logic and conditional branches
- Brand elements: typography, color, logo usage, legal lines
Step 6: Estimate Timing and Pacing
Assign rough durations to each panel or sequence. Pacing controls attention and comprehension. For a 30-second ad, aim for 6–10 panels; for a 90-second explainer, 12–20. Prioritize the opening beats and CTA visibility.
Timing Guidelines
- Hook: 0–3 seconds (immediately communicate value)
- Core value/solution: majority of runtime
- CTA: last 5–8 seconds with clear visual and copy
Step 7: Review, Iterate, and Validate
Share the storyboard for feedback with stakeholders early. Validate assumptions with quick tests: an animatic (slideshow with VO) for video, or a clickable prototype for product flows. Consolidate comments and version your board to avoid confusion.
Efficient Review Workflow
- Centralize feedback in one place with owner and due date.
- Time-box iterations to prevent scope creep.
- Run a lightweight user check to confirm message clarity.
Step 8: Finalize and Hand Off
Lock your storyboard once goals, beats, and timing are approved. Package the final with references, brand assets, script files, design tokens, and production notes. Clearly state what’s in scope for production—and what is not.
Handoff Bundle
- Final PDF or cloud link to the storyboard (versioned)
- Script/VO document and on-screen copy deck
- Asset folder: logos, fonts, color styles, UI components
- Technical notes: aspect ratios, codecs, device breakpoints
- Timeline and owners for next steps
Pro Tips for Better Storyboards
- Design for outcomes: every panel should serve a measurable objective.
- Use contrast: vary shot sizes or UI focus to maintain attention.
- Reduce cognitive load: one key idea per panel; trim extra words.
- Think accessibility: legible text sizes, captions, color contrast.
- Plan reuse: cutdowns for social, stills for ads, frames for documentation.
Templates and Next Steps
Speed up your workflow with templates and examples. You’ll find resources to help you create a storyboard faster—panel grids, shot-list spreadsheets, and pacing calculators—at PixelPlot.ai. Bookmark it for Parts 1 and 3 of this series and for ongoing inspiration on visual storytelling.
Next in the series (Part 3): advanced techniques—animatics, branching narratives, motion/interaction specs, and how to leverage AI to pre-visualize, iterate, and optimize your storyboard.